Cookie
This website requires cookies to provide all of its features. For more information on what data is contained in the cookies, please see our Privacy Policy page. To accept cookies from this site, please click the Accept button below.
DISCLAIMER - This is a guide only and Tilesporcelain Ltd is not liable for the finished tiling project.
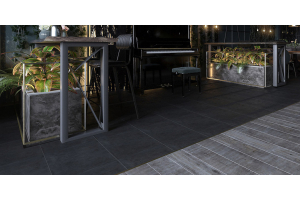
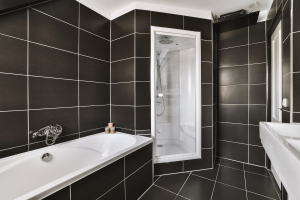
Uneven walls and floors and tiling with tiles from different manufacturers or types can both result in a similar problem: How can you end up with a flat, even surface that looks like it is made from uniform thickness tiles and a perfect substrate? Sometimes it is not feasible to lay a self levelling compound or replace an uneven wall surface before tiling. Similarly, a particular design or stock availability may necessitate using tiles that don’t fit together easily because of thickness. The solution lies in proper planning and preparation.
When most of the tiles are a standard thickness and you have a few thinner tiles to take care of or the occasional hollow – recessed area to span then you can use a technique often referred to as “back buttering”. In addition to applying adhesive to the area of wall or floor being tiled; you also apply a layer of adhesive to the back of the thin tile or tiles bridging the hollow and gently flatten into place so that the edges and corners fit evenly next to the standard tiles. The extra adhesive helps fill the hollow or fill the gap that a thin tile would normally leave.
Often, small border tiles are thinner than the main wall tiles, so there can be a delay in completing the tiling project, waiting for the adhesive on the border tiles to cure before continuing to tile above. One solution to this problem is to make a template strip from plywood to the same width as the border tiles and use tile spacers above and below the strip to act as a spacer. The plywood template is “dry fitted” so you can continue tiling above the border. When the adhesive has set; the border tiles can be fitted using slightly thicker adhesive or a suitable spacing material to allow for the gap so that the border tiles finish flush with the main wall tiles.
Handmade tiles and unusual tiles of variable thickness can be a nightmare to finish properly without forward planning. It is relatively easy to pack out a tile that’s a little thinner than the rest but extremely difficult to compensate for the occasional tile that is thicker than the others. The best way to plan ahead is to check the tiles you are using and identify the thickest tiles so that everything is checked against these. Once you know the tile thickness; you can add the recommended thickness of the adhesive to get the overall maximum thickness. You will now need to make 2 guide strips of wood to this thickness. For wall tiling; one of the strips is attached to the wall to act as the base for tiling upwards. The second guide is attached to the wall just above the first section of tiles to be placed. A suitable straight edge can be used to span the gap and will help you check that the tiles are fitted to the final depth. If possible, use a couple of the thickest tiles to help adjust the correct quantity of adhesive on the remaining tiles and ensure the rest of the project will proceed smoothly.
When the relative thickness extremes between tiles is too great to adjust with tile adhesive then you may need to consider gap filling with thin tile pieces or suitable shims. Never use porous materials or corrugated cardboard to pack out the gap. You need materials such as ceramic that can supply support without losing integrity with time.